Running Code on a micro:bit with MakeCode#
The code in this section describes how to create a first program. The program displays the text “Hello!” and displays it on the micro:bit display once.
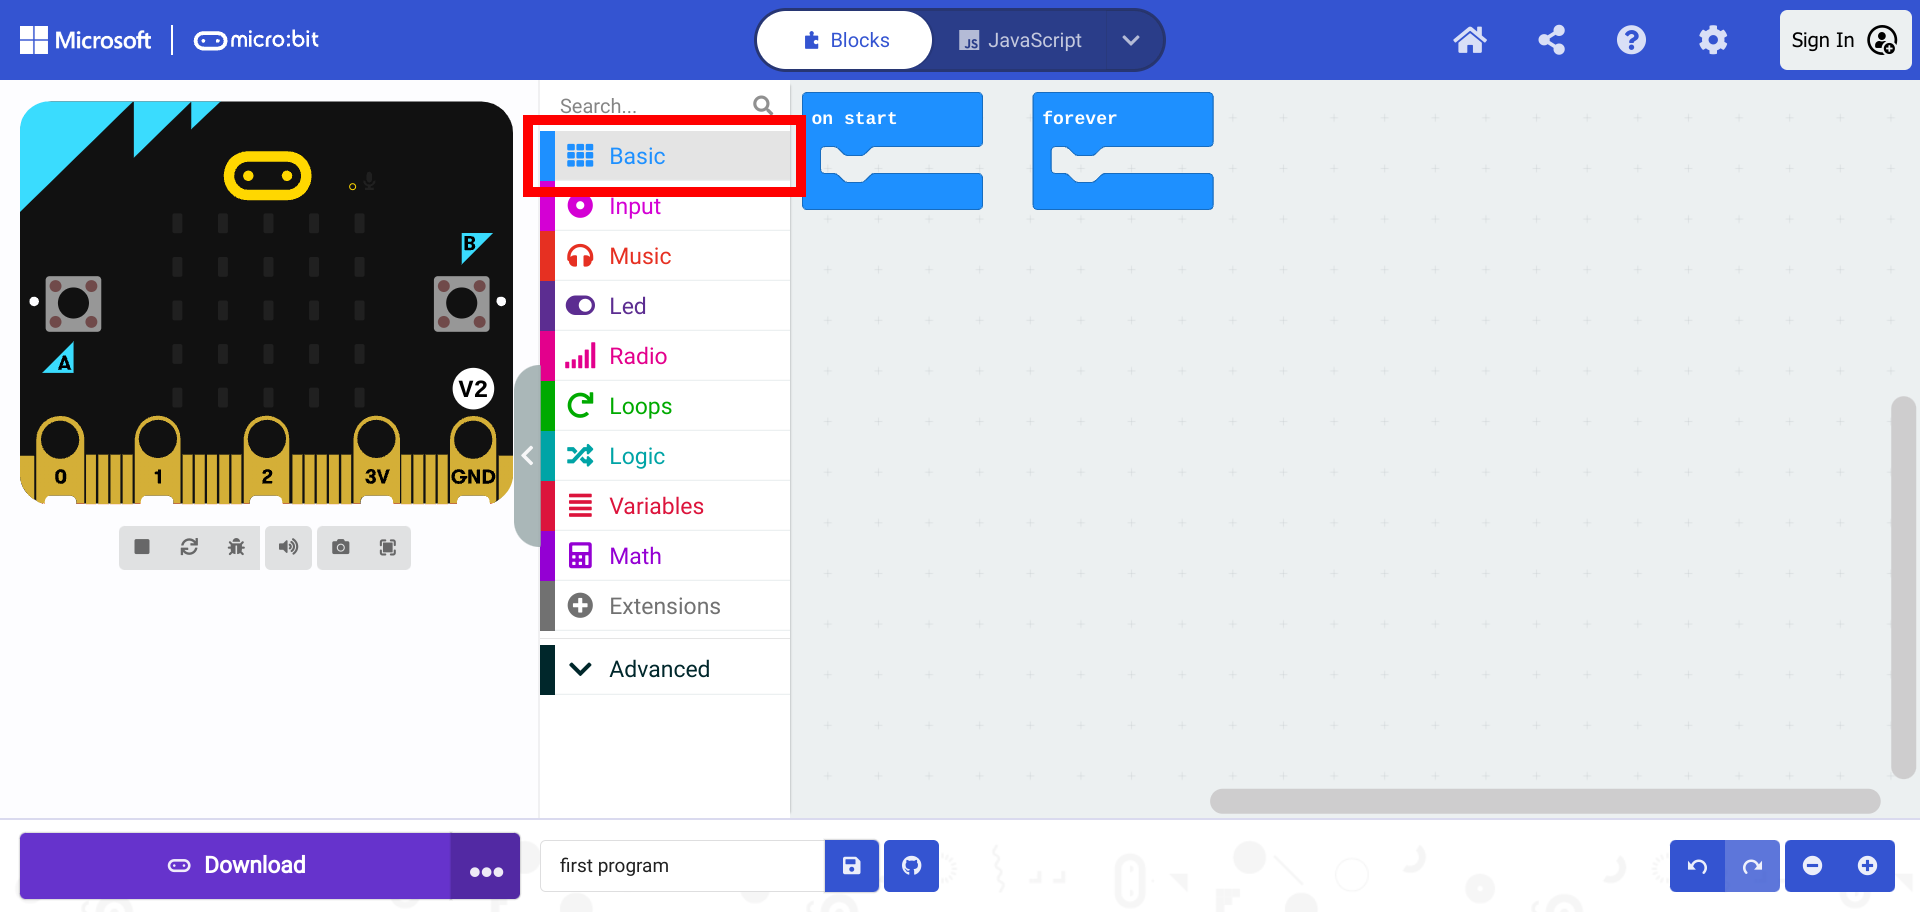
Selecting and Adding Blocks#
Click on the Basic section of the Toolbox.
Select the show string block.
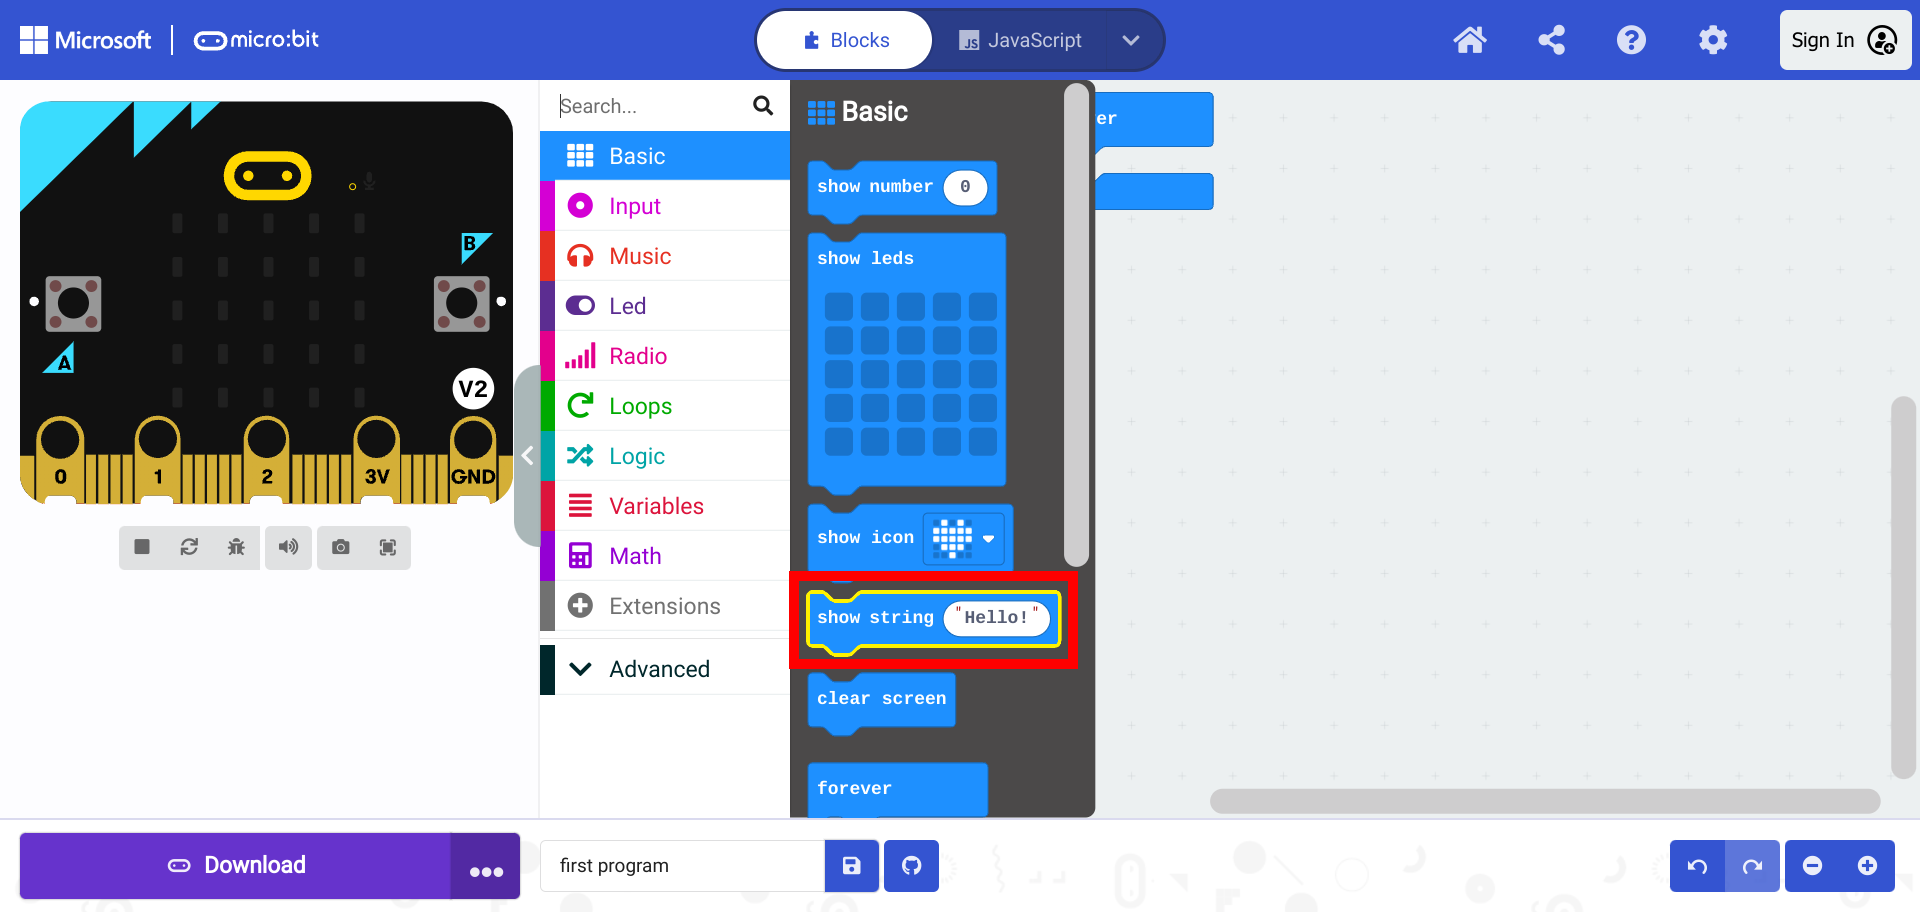
Drag the show string block into the on start block.
The program is now complete.
Handling Unused Blocks#
Unused blocks can either be moved or deleted. Unused blocks do not generally have affect on the program if they are empty, but moving or deleting unused blocks prevents overlapping blocks and improves the readability of the code.
Moving Unused Blocks#
Unused blocks can be selected and moved.
Deleting Unused Blocks#
Unused blocks can be deleted by dragging them to the left and releasing them on the Toolbox where the purple trash can appears.
Unused blocks can also be deleted by selecting the block and pressing the delete or backspace key on the upper right corner of the keyboard.
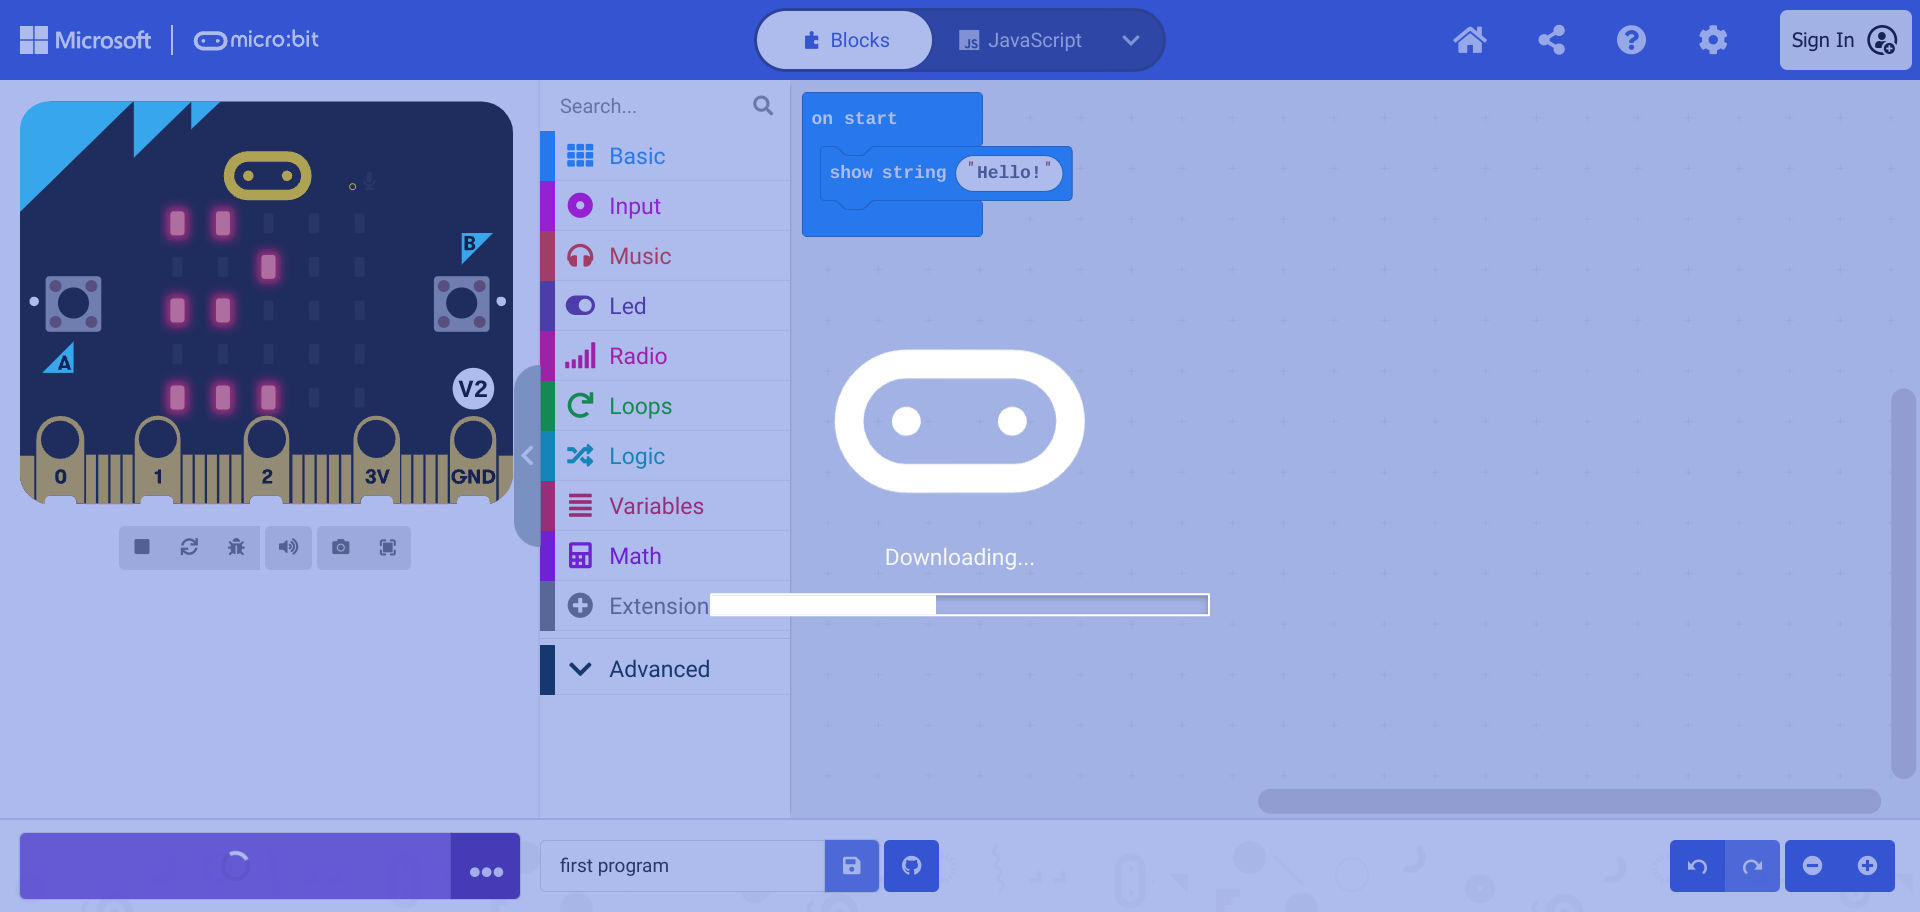
Downloading Code to the micro:bit#
After the show string block is placed in the on start block, it can be downloaded to the micro:bit. If the micro:bit is not connected, follow the steps in the previous section TODO:LINK.
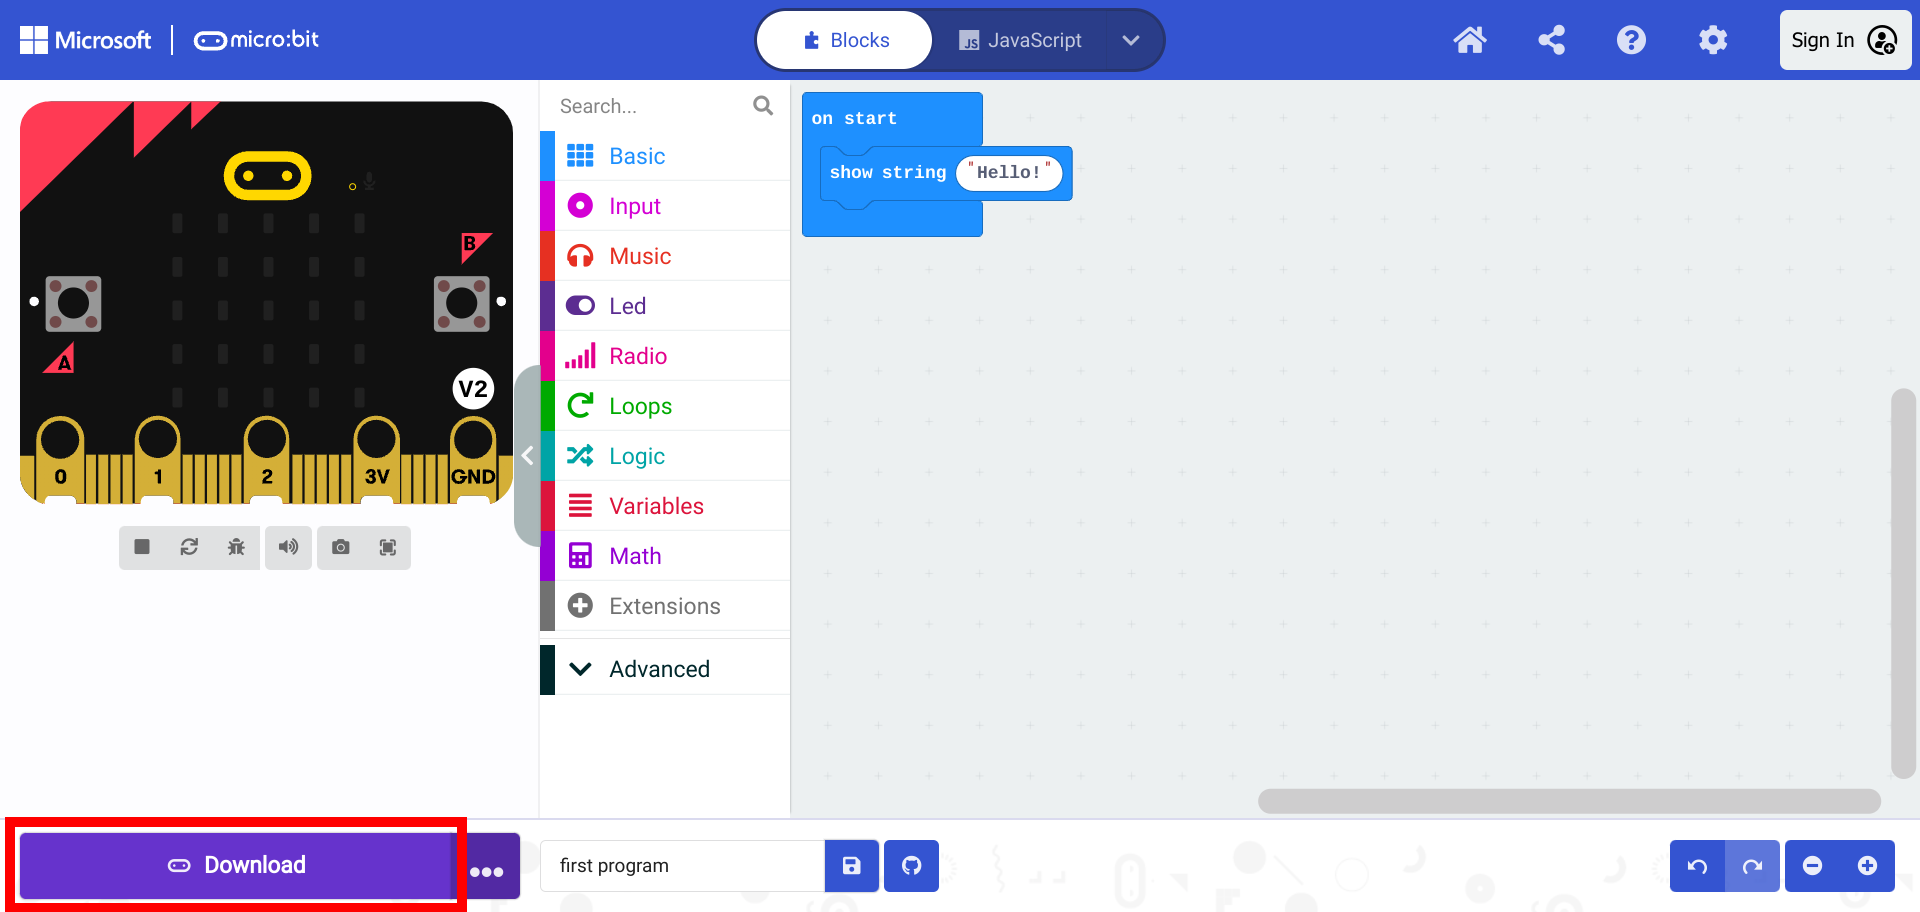
After the “Download” button is pressed it is downloaded to the micro:bit.