Notes for Teacher#
In Progress
Overview#
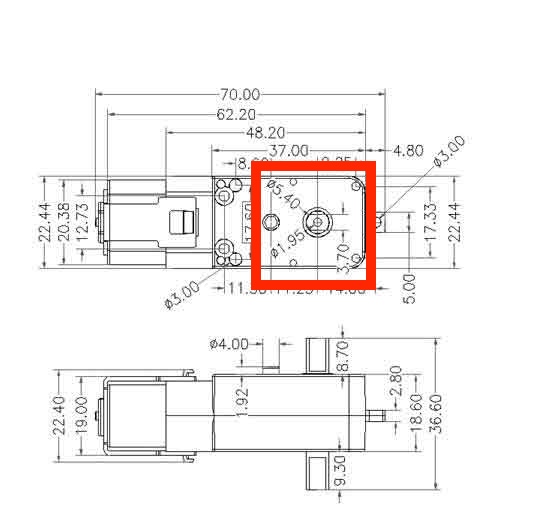
In this lesson, students will design a chassis for the rover and determine the placement of the motor driver board, the ball castor wheel, and the battery pack.
Attention
All measurements in the examples have been redacted. Students are meant to find values for the bolts independently. Teachers can request dimensions at simon@hasanprep.org.
General Notes#
Preparation#
Ensure all materials, especially the datasheets for the components, 3D printer, filament, and Tinkercad software, are available and ready for use. Check the 3D printer for any maintenance needs.
Introduction#
Explain the importance of planning where components are placed, which can affect the design of the chassis. Some of the rovers will topple during testing. Careful consideration of the weight distribution of the components will be an essential aspect of the design process. The walls of the chassis and surface should be 3mm.
Guidance#
During the design process, guide the students in considering the bolt specifications in their designs. Encourage them to consider why specific hole diameters might work better than others.
Tip
Discourage students from erasing anything in their engineering design notebooks. Ensure them that there will be no point reductions for “mistakes” as they are part of the process. It is also good for them to indicate the version of the item that they are designing. In Tinkercad, it is also helpful to modify a copy and not the previous iteration of the item. Creating a system where the version number in the engineering design notebook and the version of the model is consistent will help the student when the time comes to reflect on the design process.
Safety#
Warning
Burn Hazard and Pinch Hazard
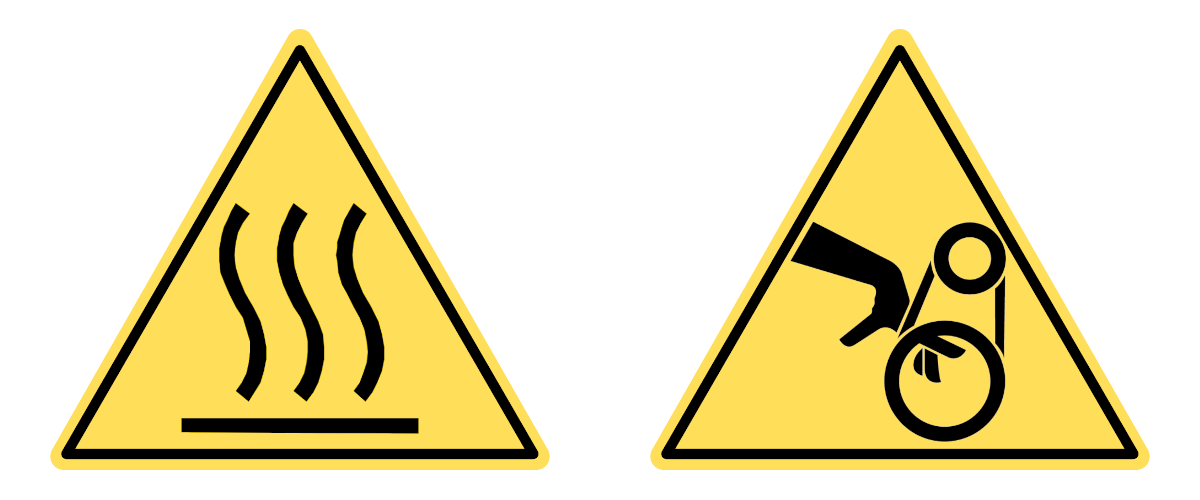 Fused filament fabrication 3D printing involves high temperatures above 180° C, and moving parts.
Ensure all students follow all established safety guidelines while using the 3D printer. It might be beneficial to do a safety refresher before starting the assignment.
Tip
Developing a badge system where students earn badges for undergoing safety training and pass a safety test is helpful. Equipment safety tests are available on ITEEA’s Safety Resources page.
Assessment#
Use the provided rubric to assess each student’s work. Remember to give constructive feedback to help them improve.
Differentiation#
Be prepared to support students struggling with the assignment. This could include providing templates, one-on-one assistance, or additional resources. For more information visit the Differentiation section of this lesson.
Reflection#
After the assignment, have a class discussion about the results. Which hole diameters worked best? Why? What would they do differently next time?
TT Motor Wheels#
There are a variety of different wheels available for TT motors. These wheels differ in diameter and the type of tread for different types of surfaces, as displayed below:
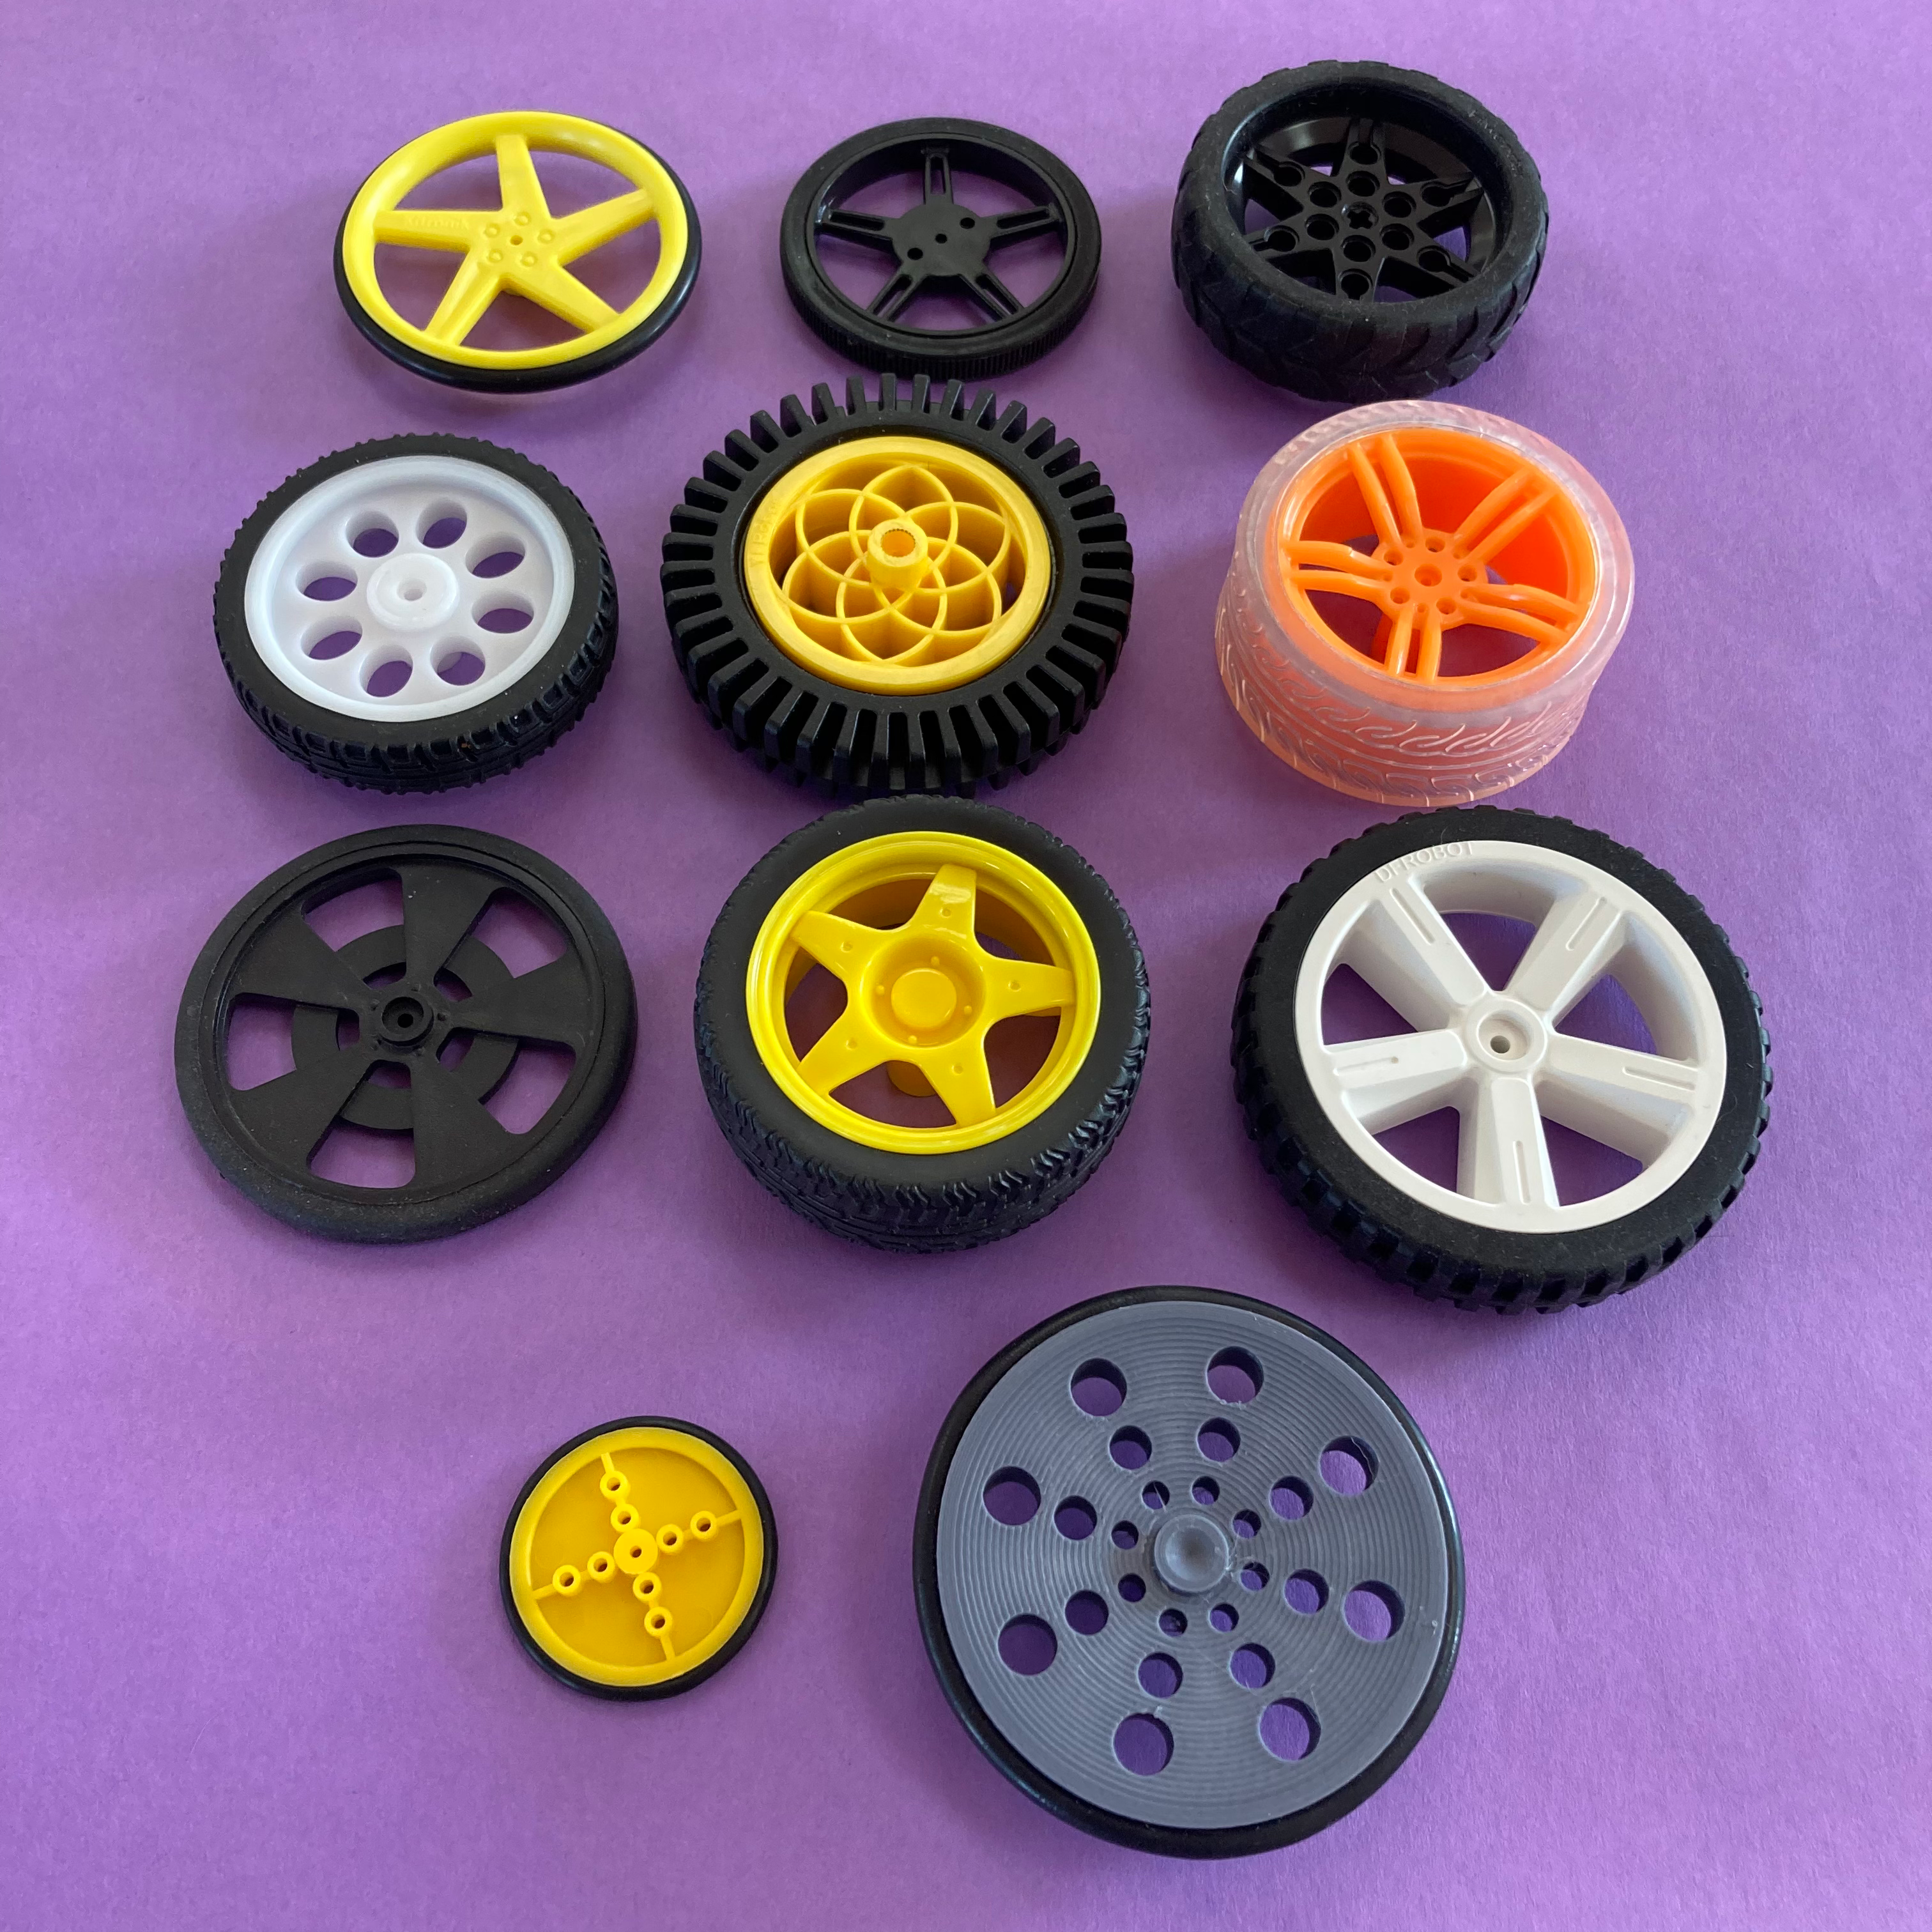
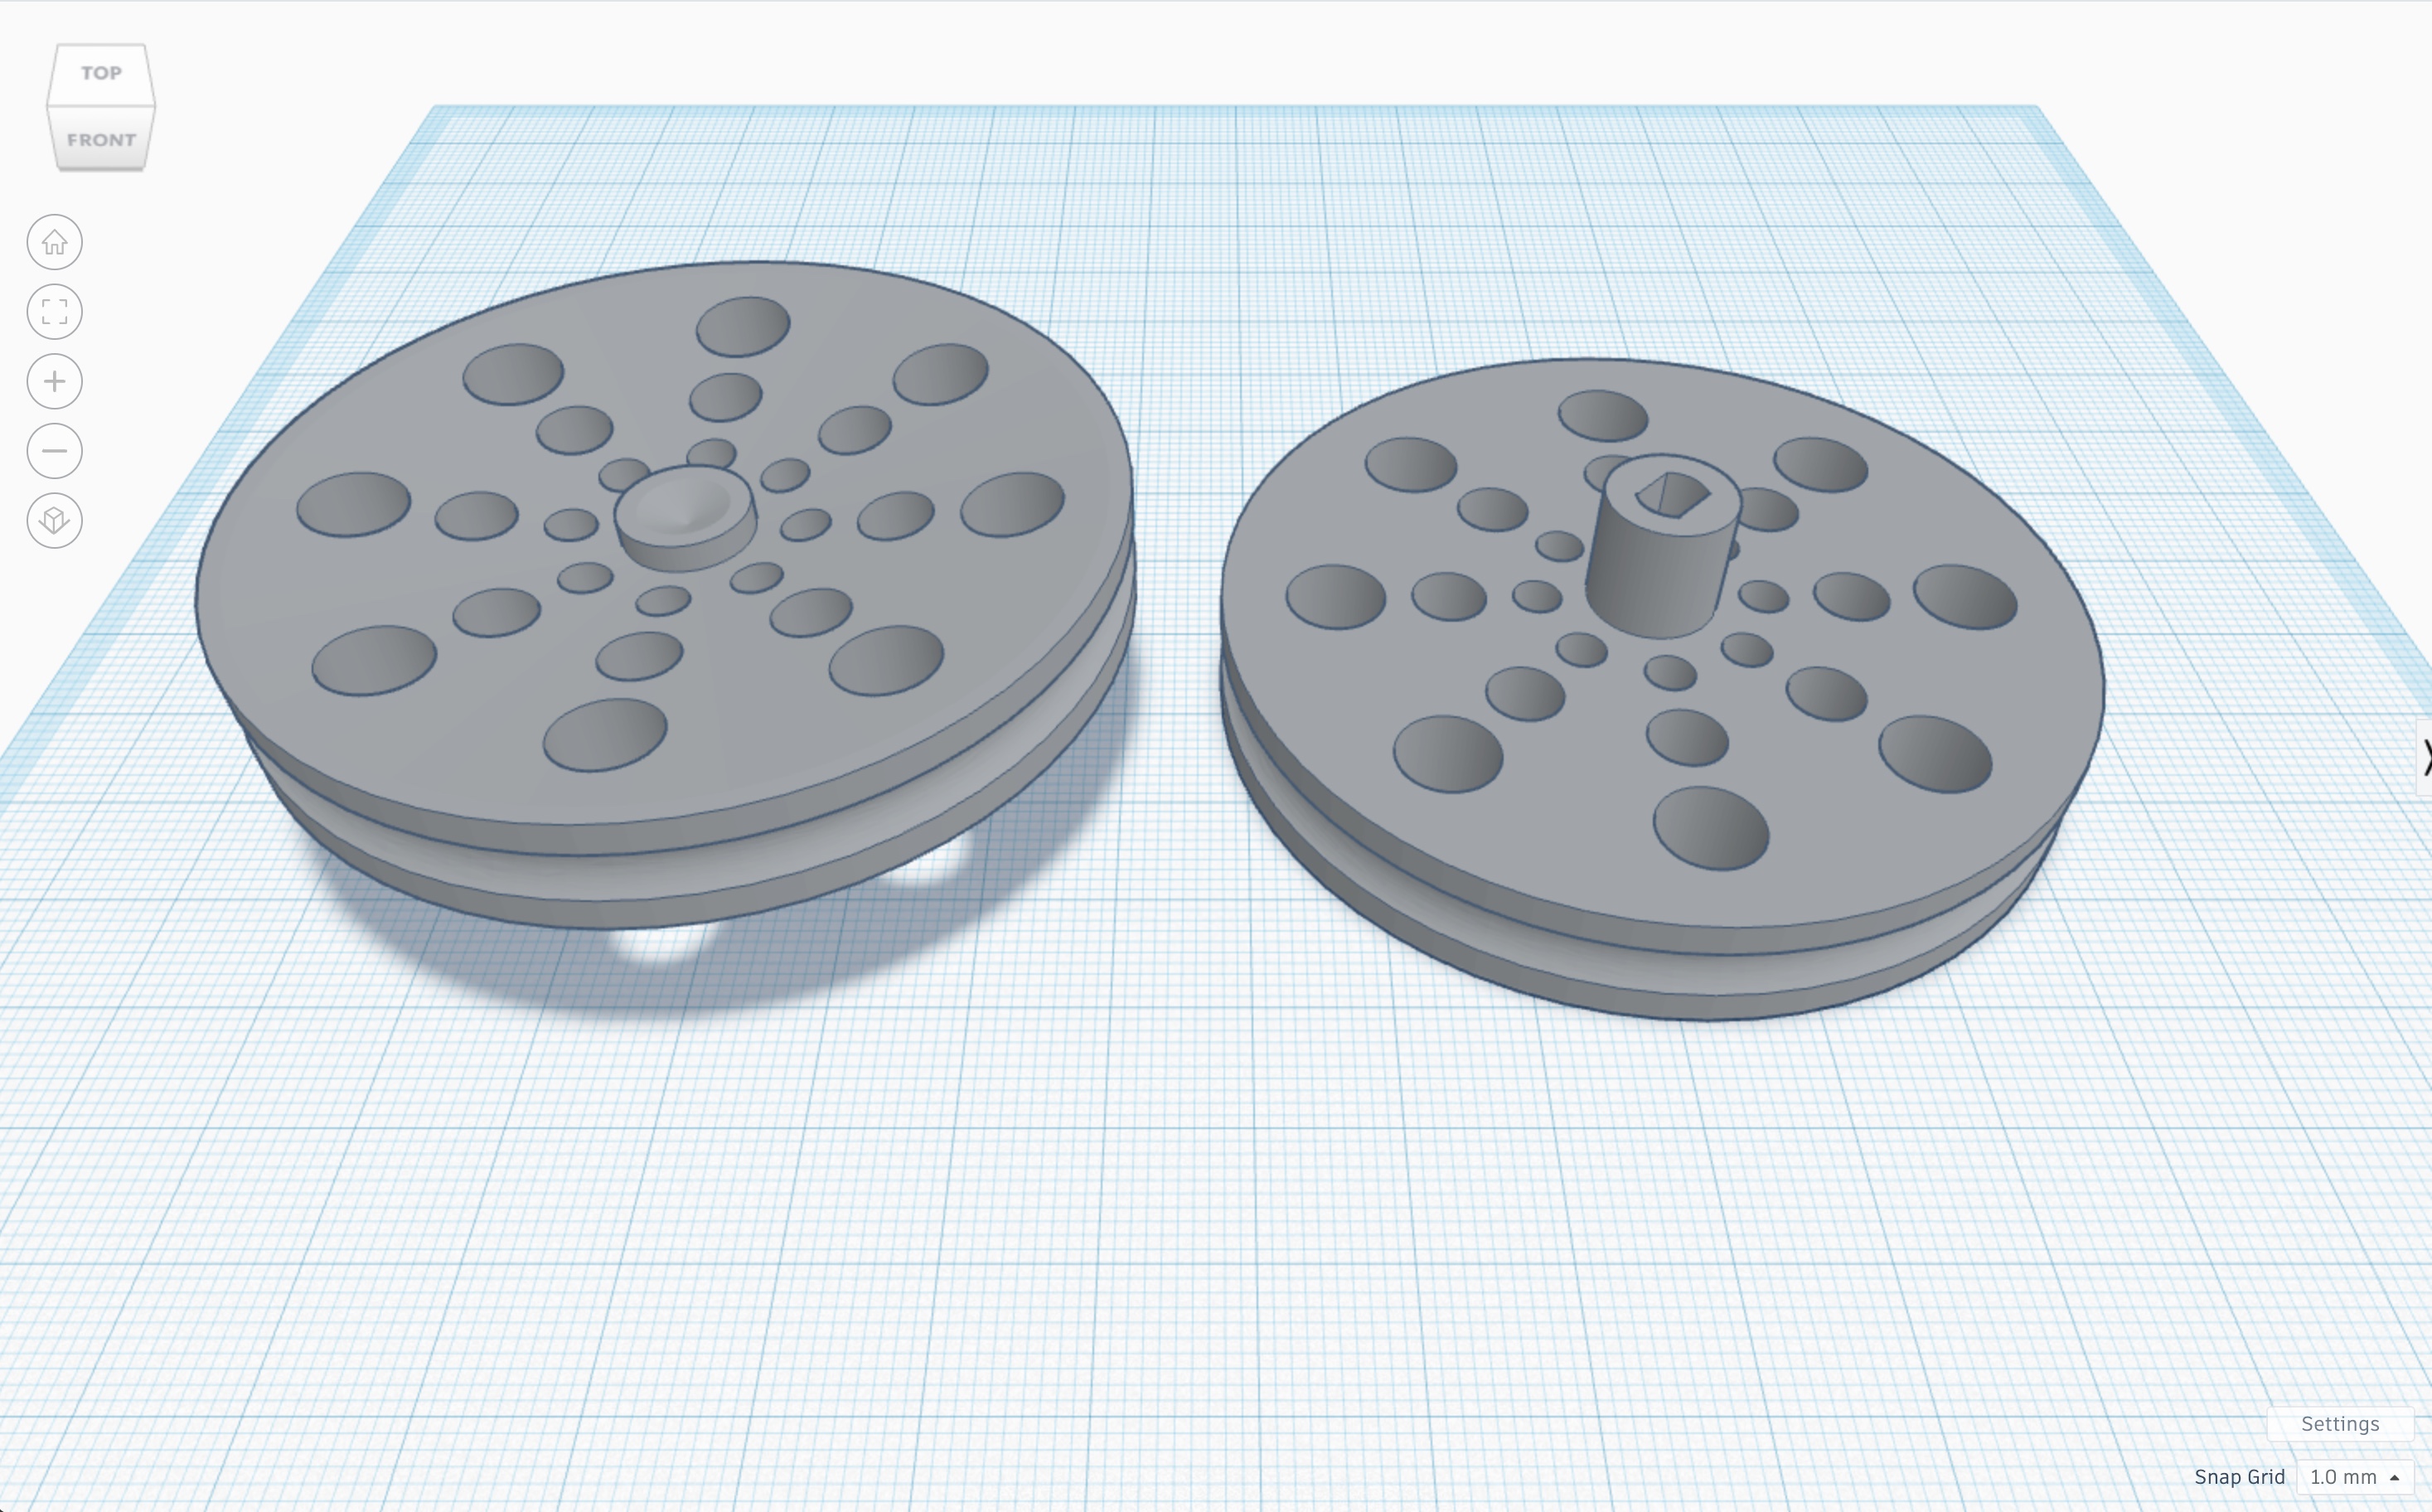
Students can 3D print wheels, such as the gray wheel, with an o-ring. The dimensions of the drive shaft are given on some datasheets.
Warning
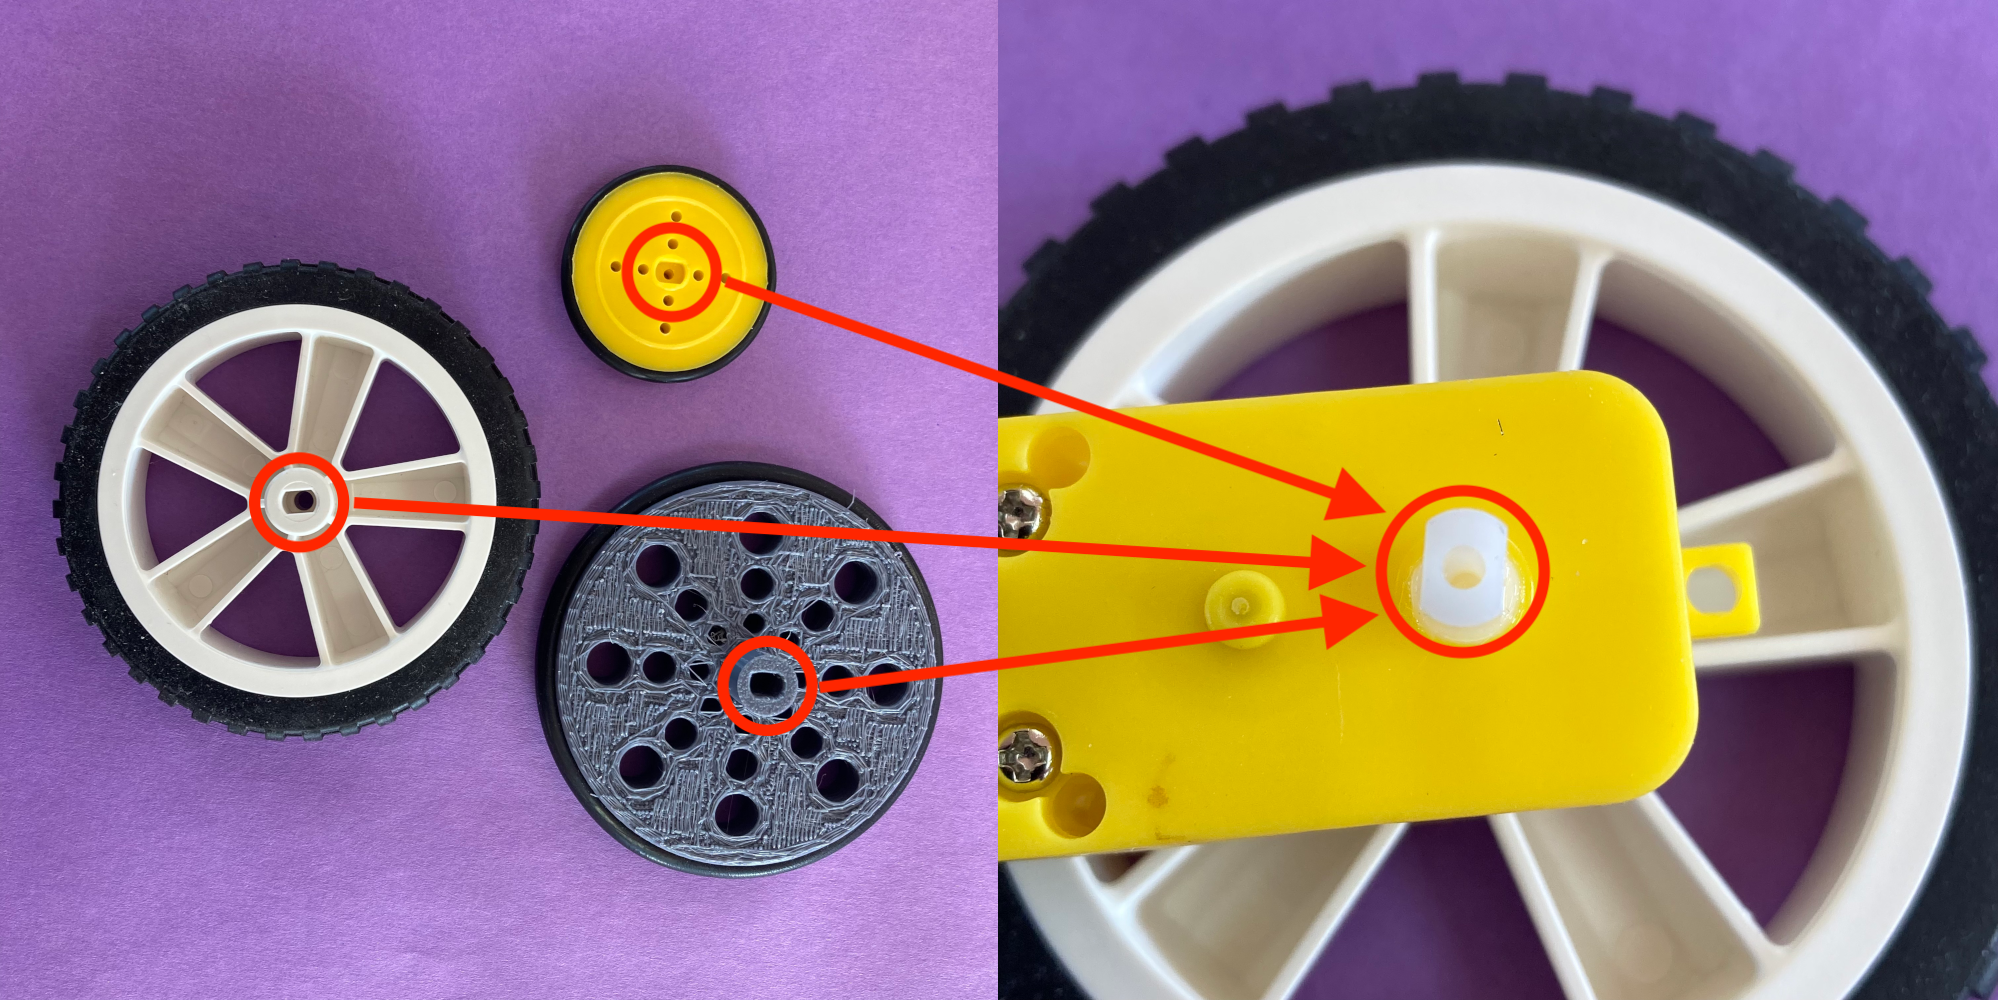
As mentioned above, there are a variety of wheels for TT motors. But there are a variety of wheels for other motors as well. Make sure the wheel is intended for a TT motor. Forcing other wheels not intended for a TT motor can damage the drive shaft and the wheel. Make sure the wheel has the proper opening for the drive shaft.
Sourcing Materials#
TT motor wheels can be difficult to find. A search for wheels on a vendor’s website will return results for other wheels that are not compatible with TT motors.
Follow-Up Lessons or Extensions#
The two examples below can be used as follow-up lessons or extensions to the lesson. It may be the case that the students’ designs may require one of these modifications.
Designing a Wheel#
The measurements of the drive shaft are on the following datasheet.
Using the measurements above, students can design 3D-printed wheels with o-rings for the TT motors.